KEY & FILL
The Key & Fill effect can be useful for scenarios where you want to either highlight or hide specific pixel areas of one or multiple cues. It can also be useful in scenarios where you want to do creative fading effects.
As the name suggests it consists of two pieces:
- Key where you specify one or multiple pixel areas.
- Fill where you specify what content you want to use to fill the Key pixel areas.
The Key is created by first changing one or multiple layers into Keying Layers. The pixels for all cues placed on a Keying Layer are combined into a single Key. Then all keys, regardless of which Timeline the key belongs to, are further combined into a unified Key. The pixel areas defined by this Key can then be referred to by cues that want to Fill the Key with content.
You can read more details about Keying Layers and how to define them here, and you can read more about how to define Fill here.
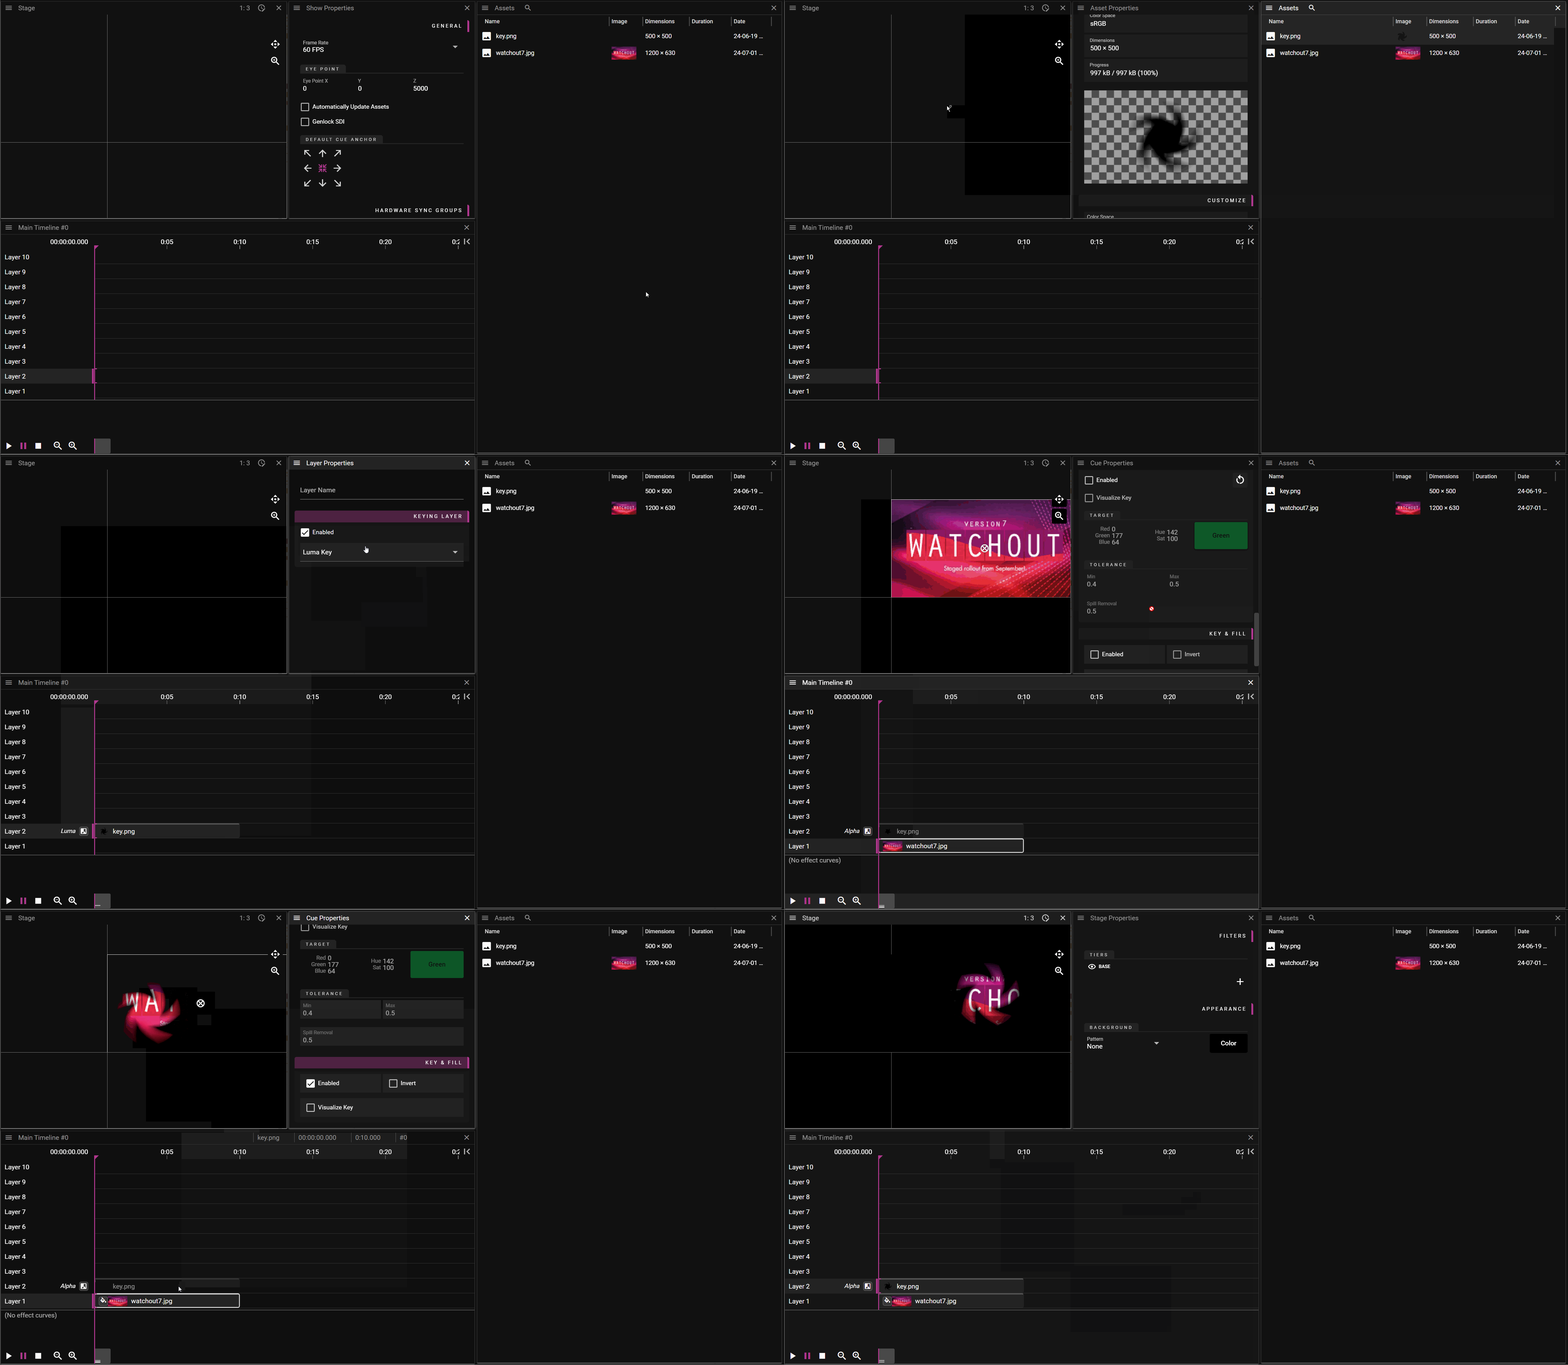
The example below shows how to define a simple Key & Fill effect:
- Add a cue that you want to use for Key.
- Click on the cue's layer and in Layer Properties select to use Alpha Key to define the Key pixel areas.
- In Layer Properties turn it into a Keying Layer with the Enabled checkbox.
- Add a cue you want to use for Fill.
- Select the cue and in the Key & Fill section of the Cue Properties toggle the Enabled checkbox on.
- Note: The paint bucket symbol in the cue indicates the Key & Fill effect.
