THE BASICS
Producer is a desktop application that lets you transform your creativity into WATCHOUT shows. The goal with this chapter is to give you an overview of Producer along with a brief introduction to some fundamental concepts.
WELCOME SCREEN
When you start Producer you will be greated with a welcome screen which allows you to open existing shows or create new ones. You may also connect to an already running show.
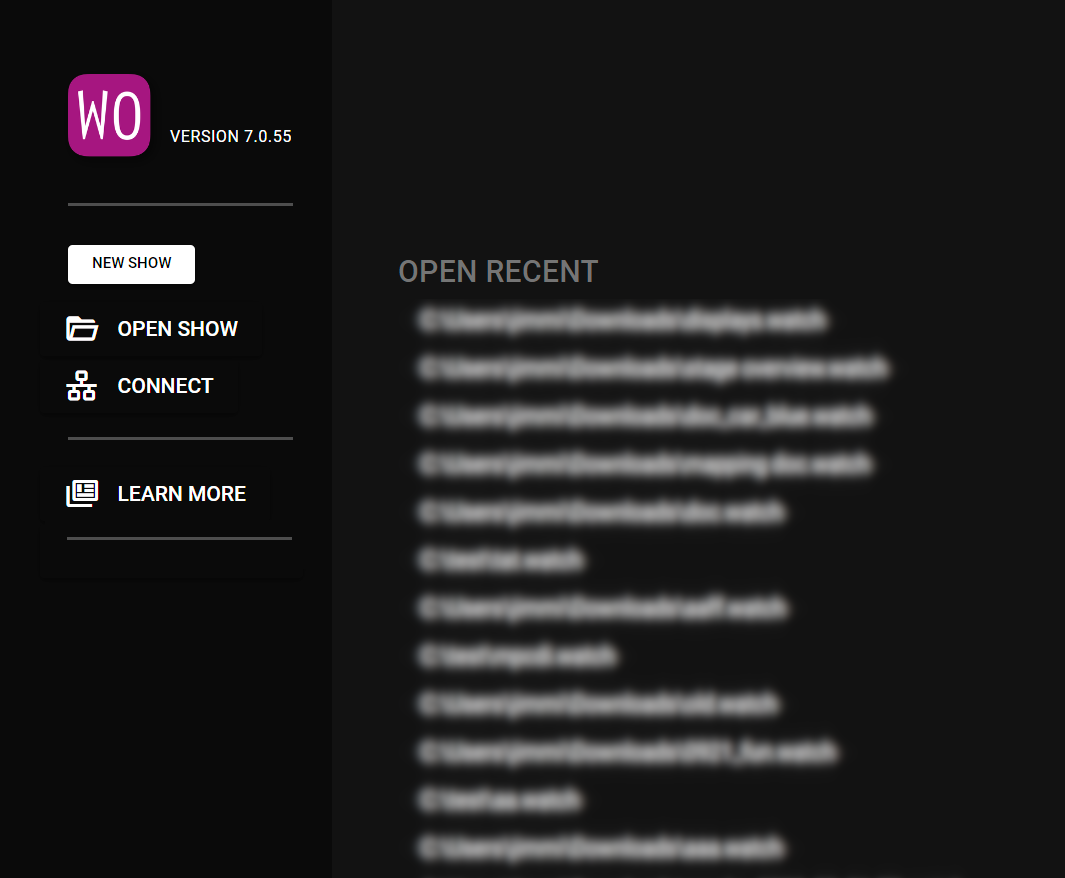
- New Show creates a new show on the Director currently in use. If no Director is currently being used by Producer a new show on the local node will be created.
- Open Show opens the selected show and tries to connect to the Director and Asset Manager that was used when the show was saved.
- Open Recent lists shows that you recently worked on.
- Connect opens a dialog allowing you to select the Director you want to connect to. The show on the selected Director will be loaded in Producer.
- Learn More opens a page where you can learn more about the products and services that Dataton provides.
- Your Feedback creates a feedback report for the Dataton team which they can use to understand any issues you may have encountered when creating or playing a show.
You can learn more about the Director, Runner(s) and the Asset Manager in the setup chapter.
WINDOWS
All WATCHOUT windows reside inside a desktop window, indicated with the WO icon and the word Producer. You can resize the desktop window by dragging any of its outer borders or corners. Minimize or maximize it using the buttons in the upper right corner. Clicking the close box is equivalent to choosing Quit on the File menu.
Move a WATCHOUT window by dragging its title bar. Resize a window by dragging any of its corners or outer borders.
When you open the Producer, you will see a number of windows.
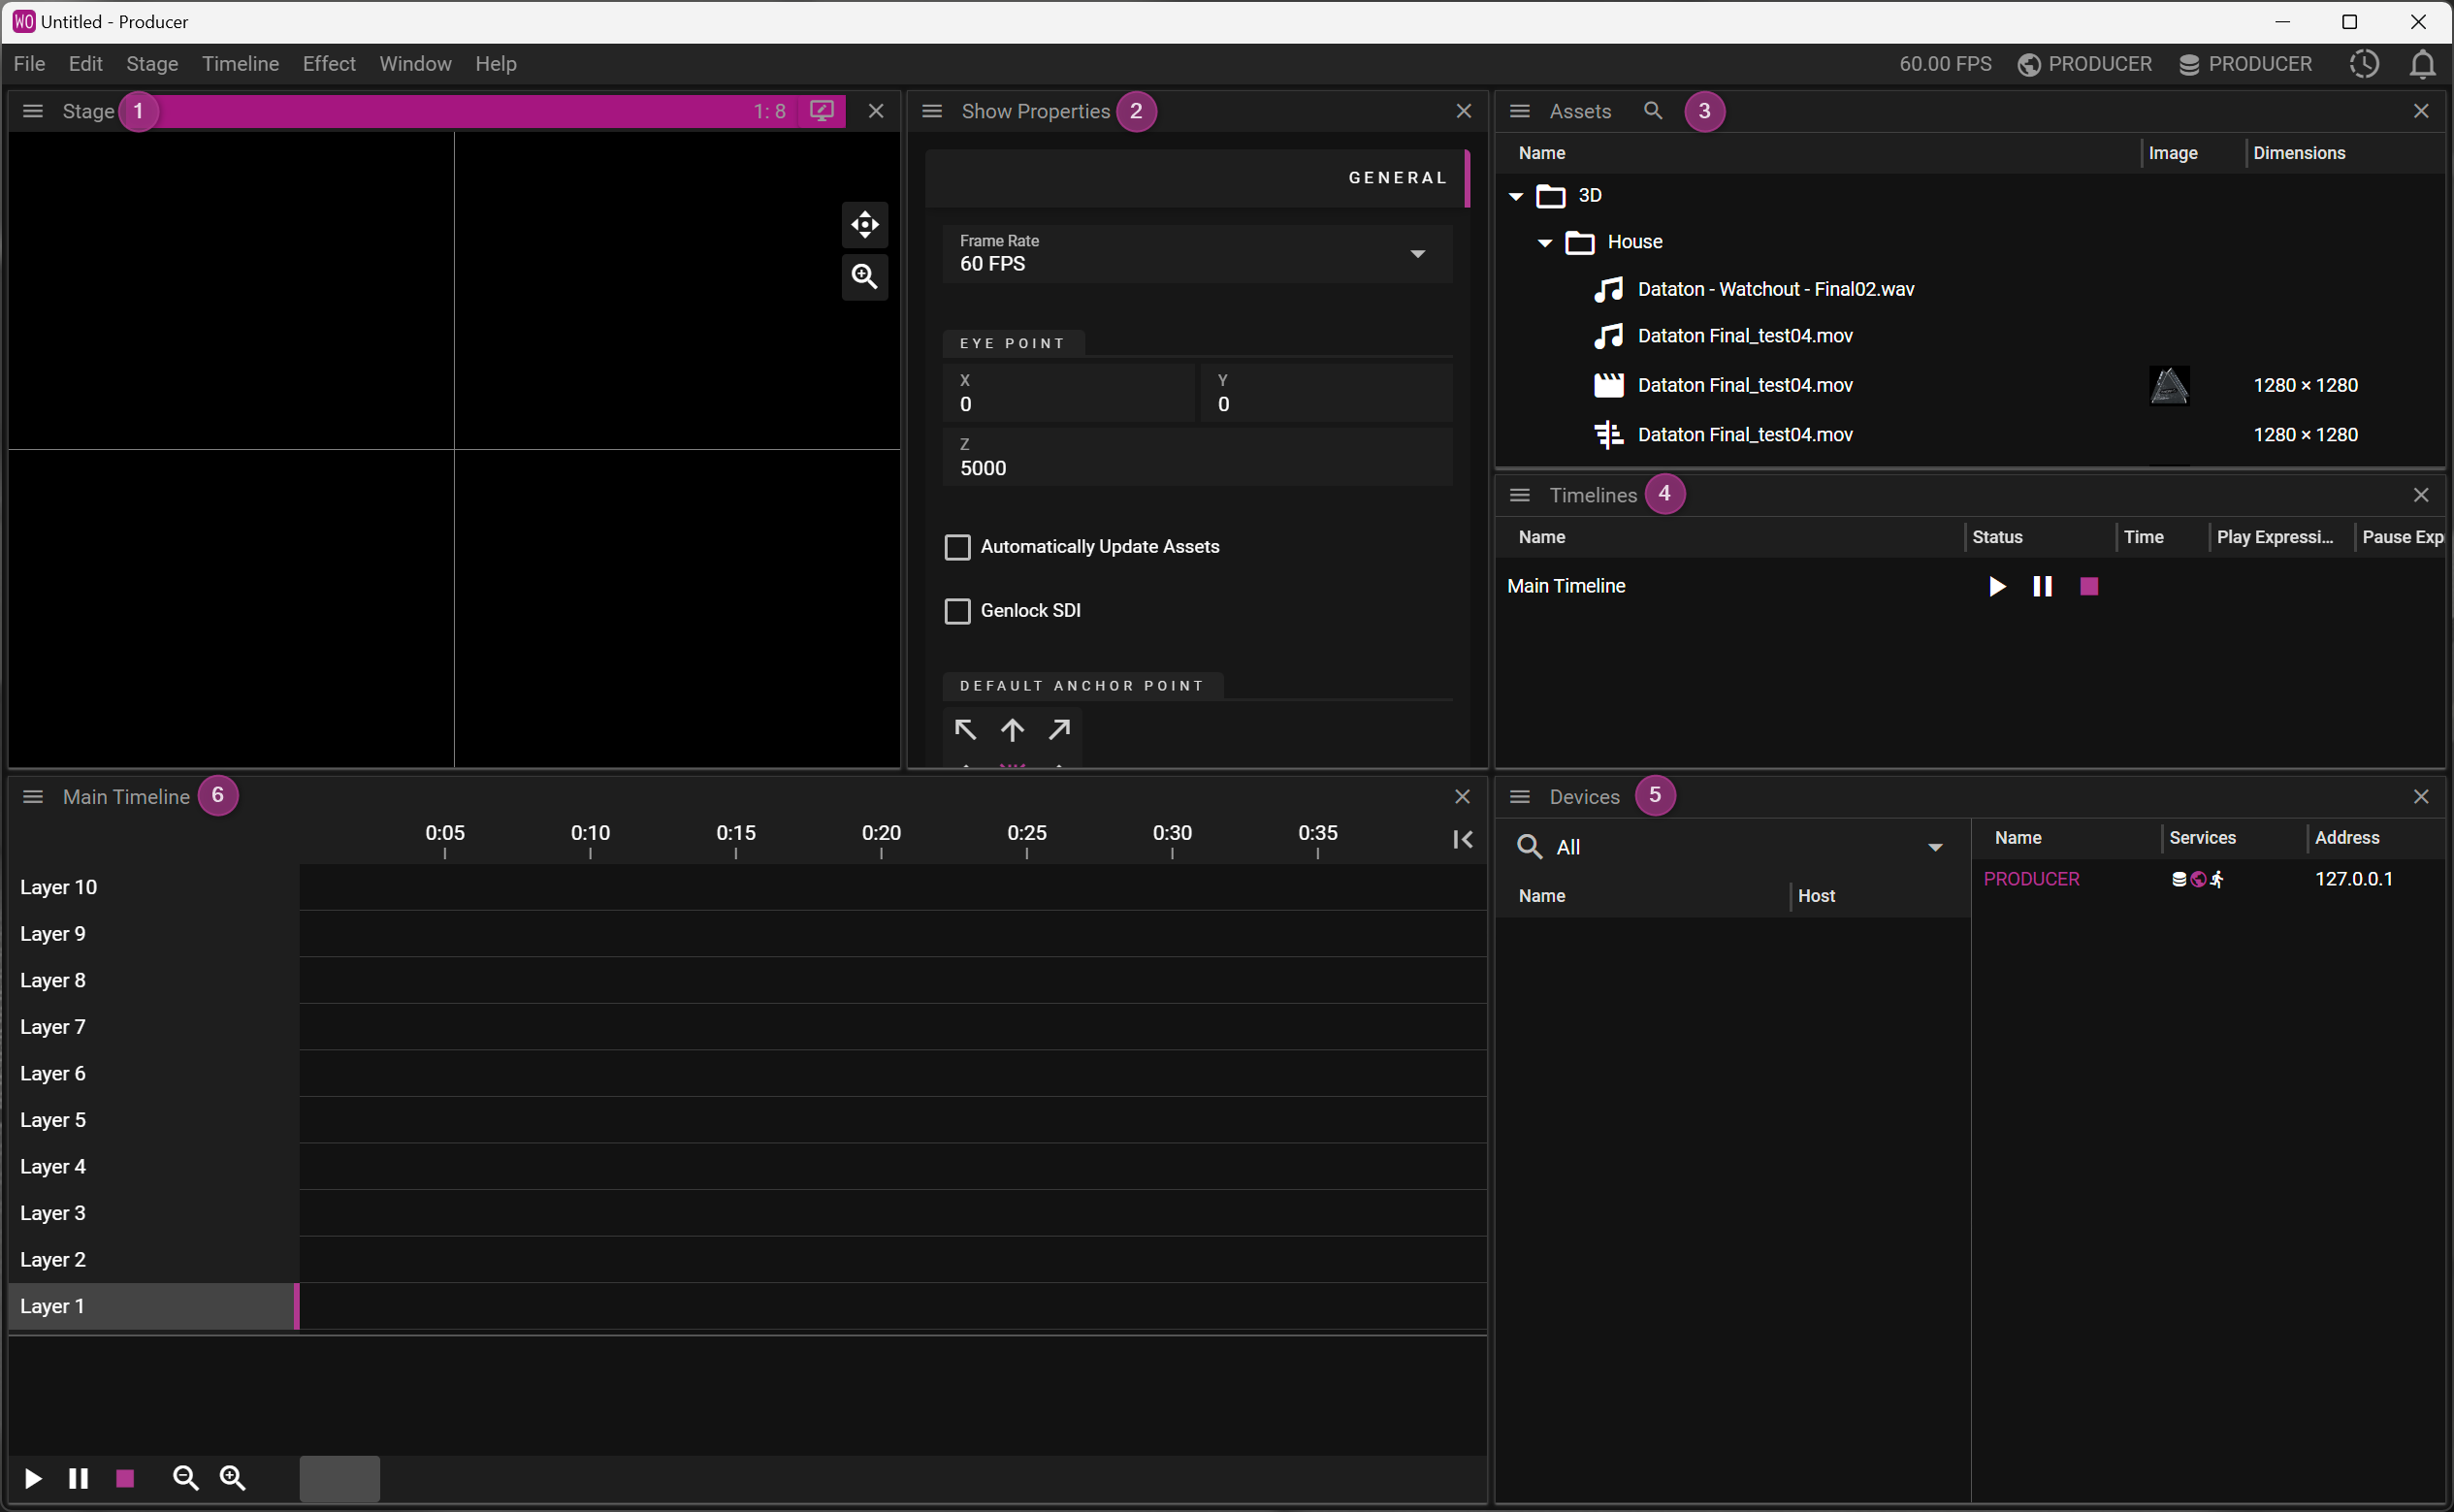
- The Stage window shows the display areas and a preview of the presentation.
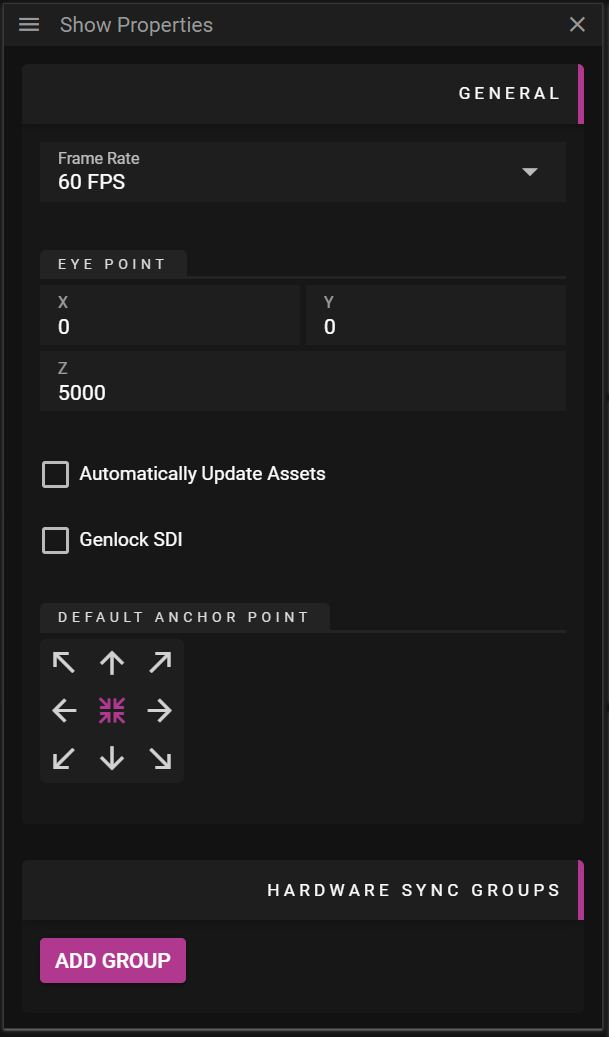
- The Properties window is context-dependent and in this initial layout shows the show properties.
- The Assets window lists all media used in your presentation.
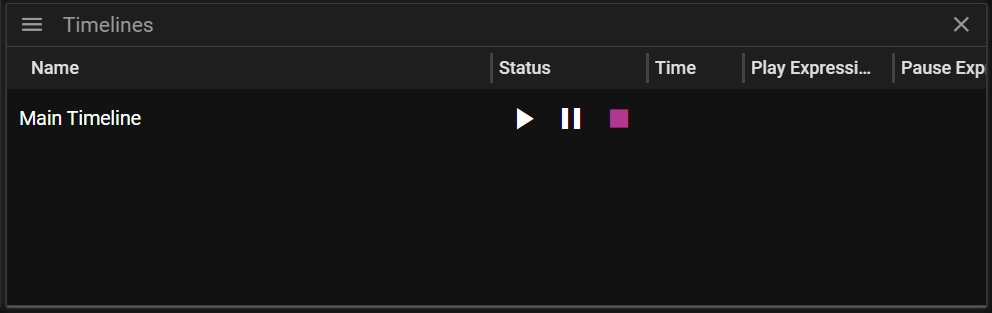
- The Timelines window lists the timelines used in the show.
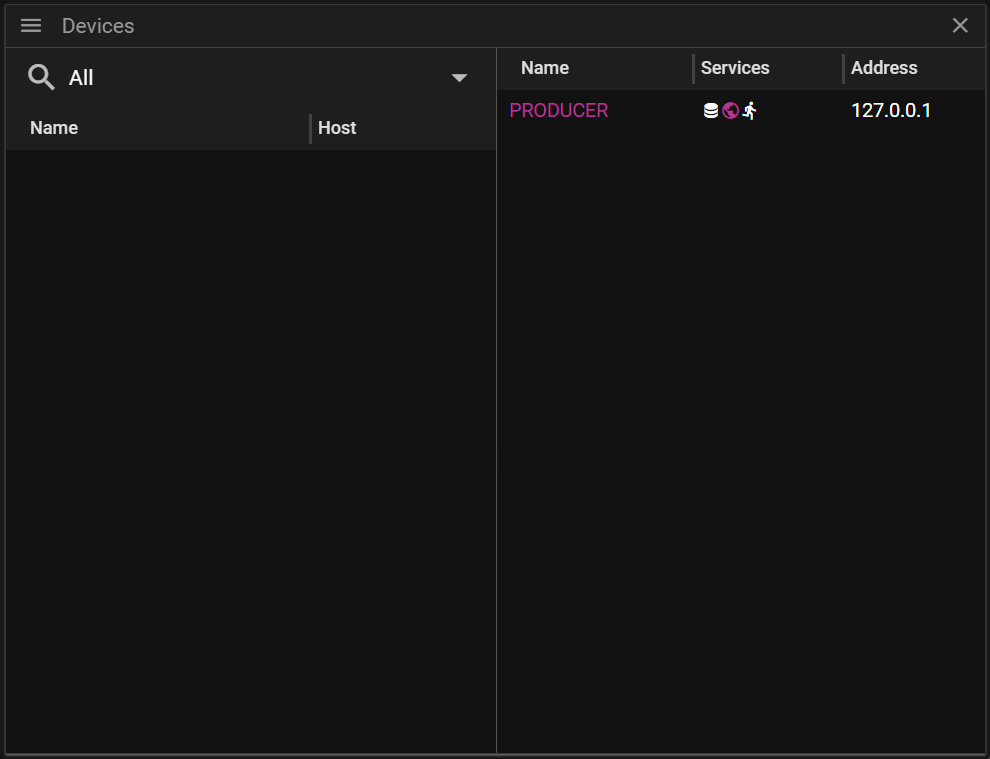
- The Devices window gives info on the devices on your network.
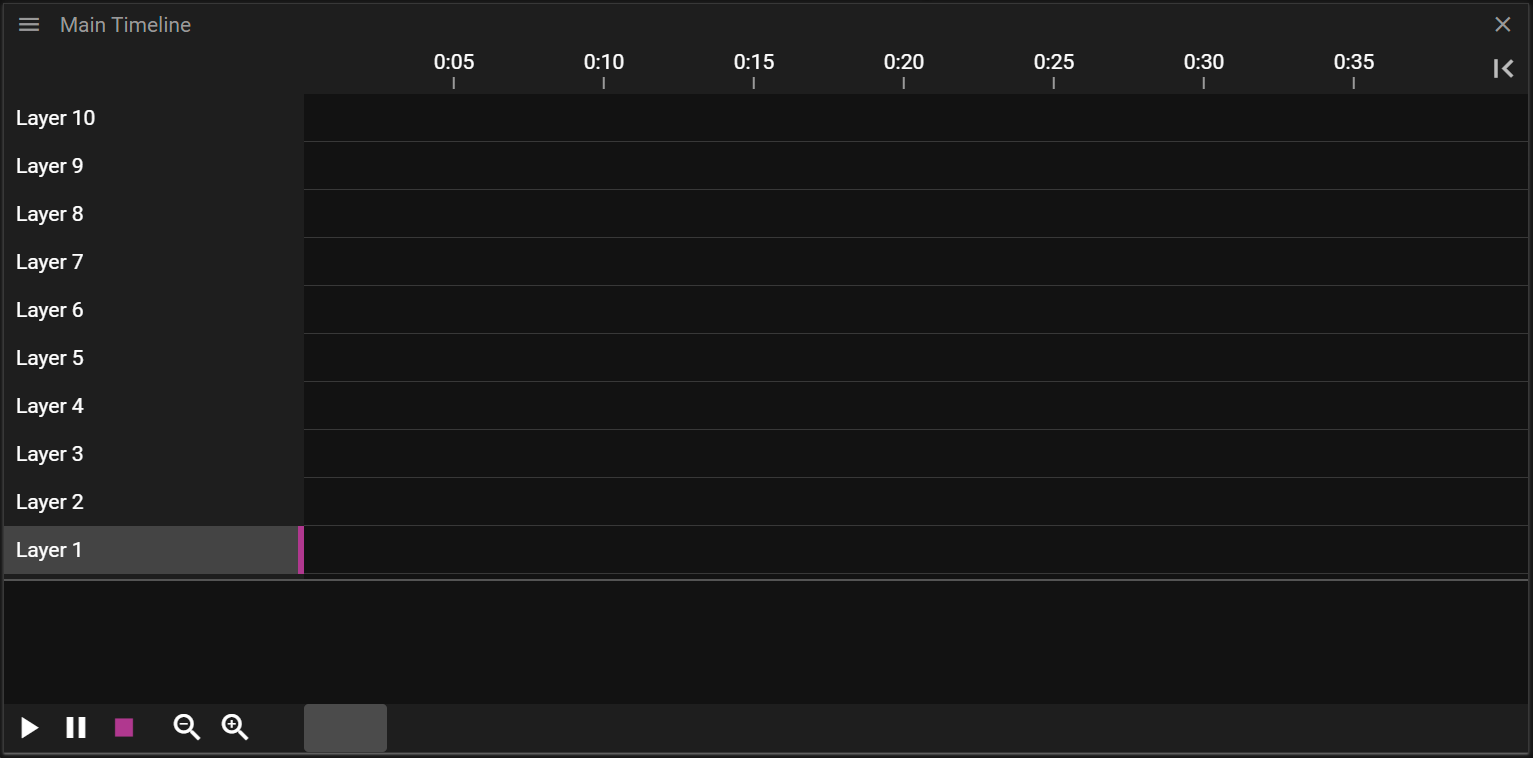
- The Main Timeline presents the layers, cues and effects in the show
Windows are opened or re-opened through the Window menu. Double-click on a timeline in the Timeline window to open its window.
WINDOWS LAYOUTS
Window layouts can be reset, saved and loaded from the Layout submenu of the *Window menu.
To save a layout, choose Layout from the Window menu and select Save. Enter the file name, select the location and save.
To load a layout, choose Layout from the Window menu and select Load. Locate the saved layout on your computer and select Open.
To reset the layout to the default layout (as seen when creating a new show), choose Layout from the Window menu and select Reset.
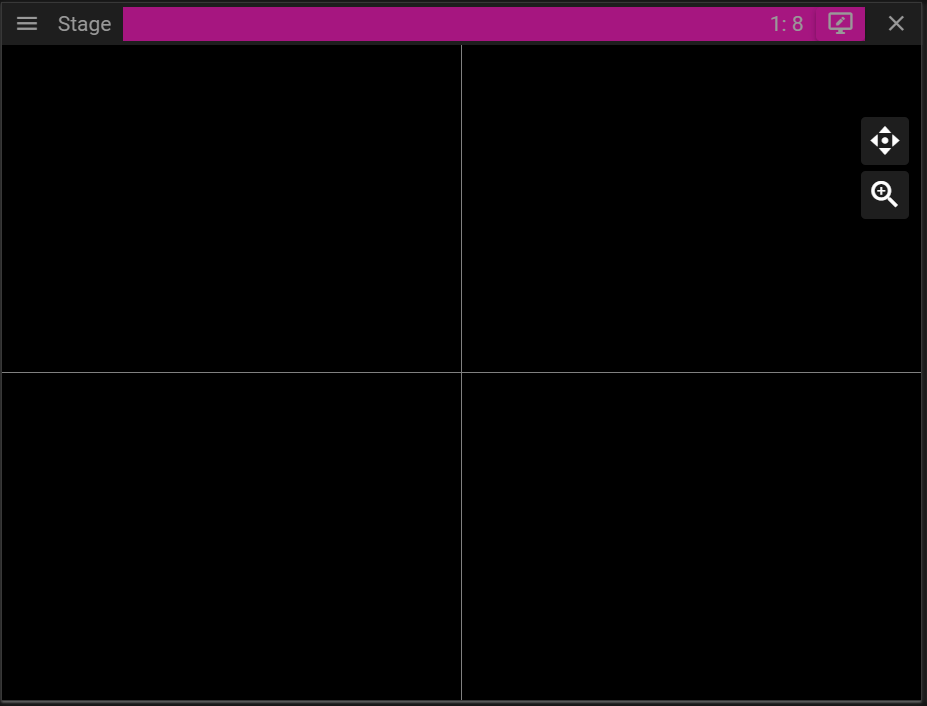
STAGE WINDOW
The Stage window is where you set up your presentation layout and add your display devices.
If you are new to WATCHOUT, think of the Stage as a large canvas, where you can add media files – video, still images, audio files and various input and output items. Displays, whether physical such as an output from a graphics card on the display server, an NDI output from the display server, a virtual display or a 3D projector can all be regarded as windows on that content.
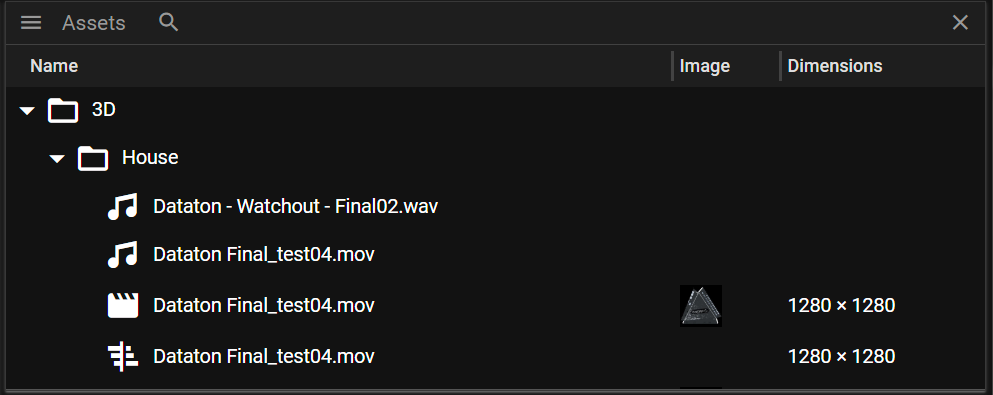
ASSETS WINDOW
This is where your media files are available to use. Media files are not loaded into the WATCHOUT show file, but are stored in the Asset Manager which makes them available for the media servers and the Producer for programming. In previous WATCHOUT versions the Assets window was known as the Media window.
TIMELINES WINDOW
This is where the media files are placed and played back. A Timeline is linear, playing back content over time from A to B. WATCHOUT supports multiple Timelines which run simultaneously if required.
The Main Timeline is shown by default when you first open the Producer and you can choose to keep it visible, rename it, hide it or delete it. You can easily add new timelines to suit your show setup under Timeline on the top menu and the Timelines window menu.
DEVICES WINDOW
This is a new feature in WATCHOUT and lists all available nodes in the WATCHOUT ecosystem. From this window, you can enable services such as Producer or Asset Manager as well as adding displays, audio devices (such as Dante®) or an NDI® video source.
You can learn more about devices here.
PROPERTIES WINDOW
The Properties window is context-sensitive and displays information related to the window or item that is currently selected. For example, if you click on a file listed in the Assets window, the properties of that file will be displayed in the Properties window (Name, Type, Frame Rate, etc). if you click on a timeline in the Timelines window, timeline properties will be displayed (Name, Duration, and any Triggers that have been applied, etc).
SHOW PROPERTIES WINDOW
When this window is active you can set the frame-rate for your WATCHOUT show and enable automatic update of media assets.
ACTIVATING NODES
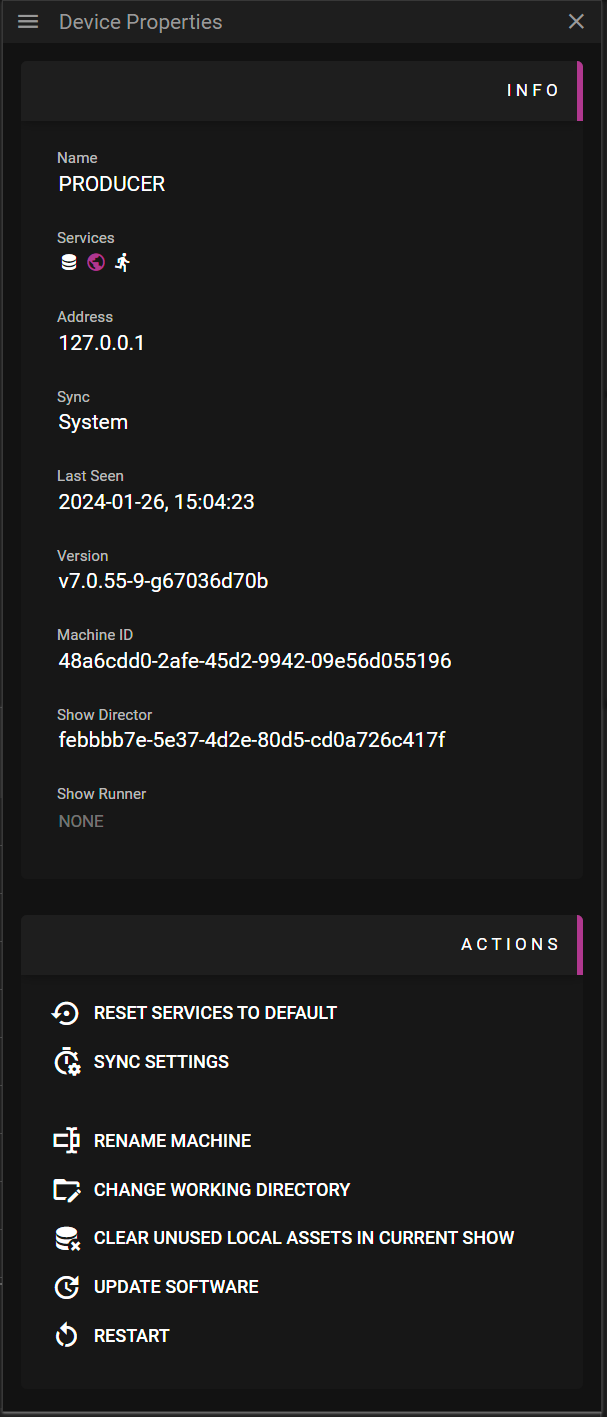
You have to activate the various sevices (Director, Asset Manager, etc) before you can start to make your show. The Producer will discover the nodes available on the network. In the example below, there is a single node called Producer (the PC that is running the WATCHOUT software). The PC had this name assigned in Windows but you can also assign a name in the Device Properties window. Please note that the system will need to be restarted in that case.
To activate the various nodes, go to the Devices window and right-click on the relevant node – in this case Producer.
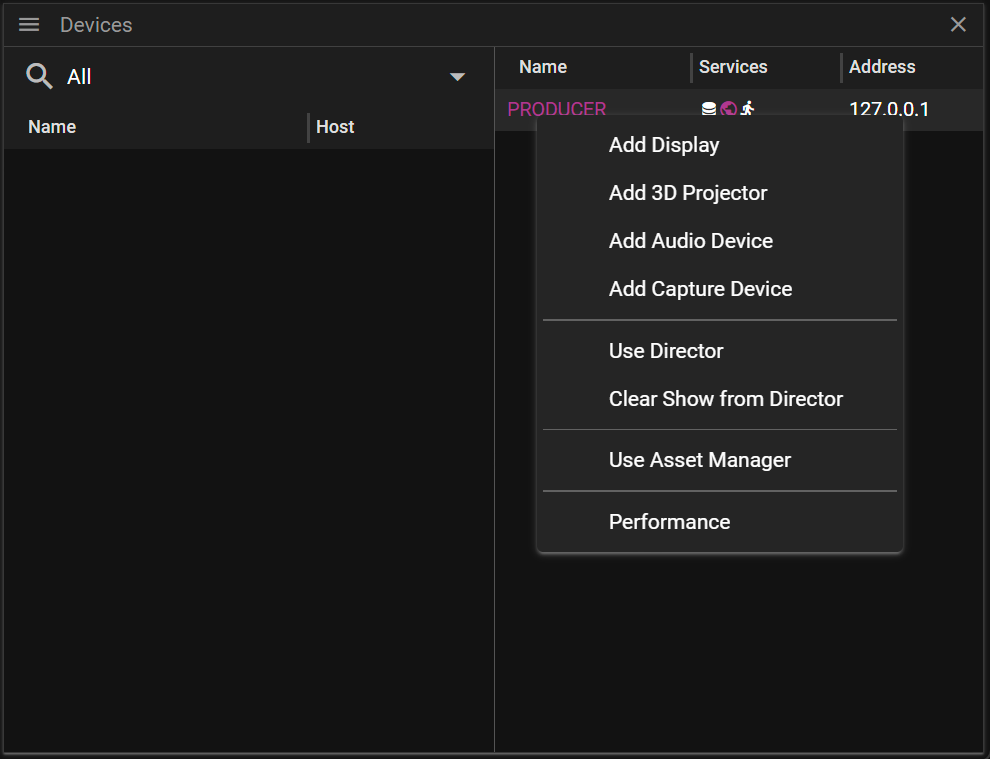
Click on Use Director. The services list in the Device Properties window will show it has become active.
Now do the same for the Asset Manager.
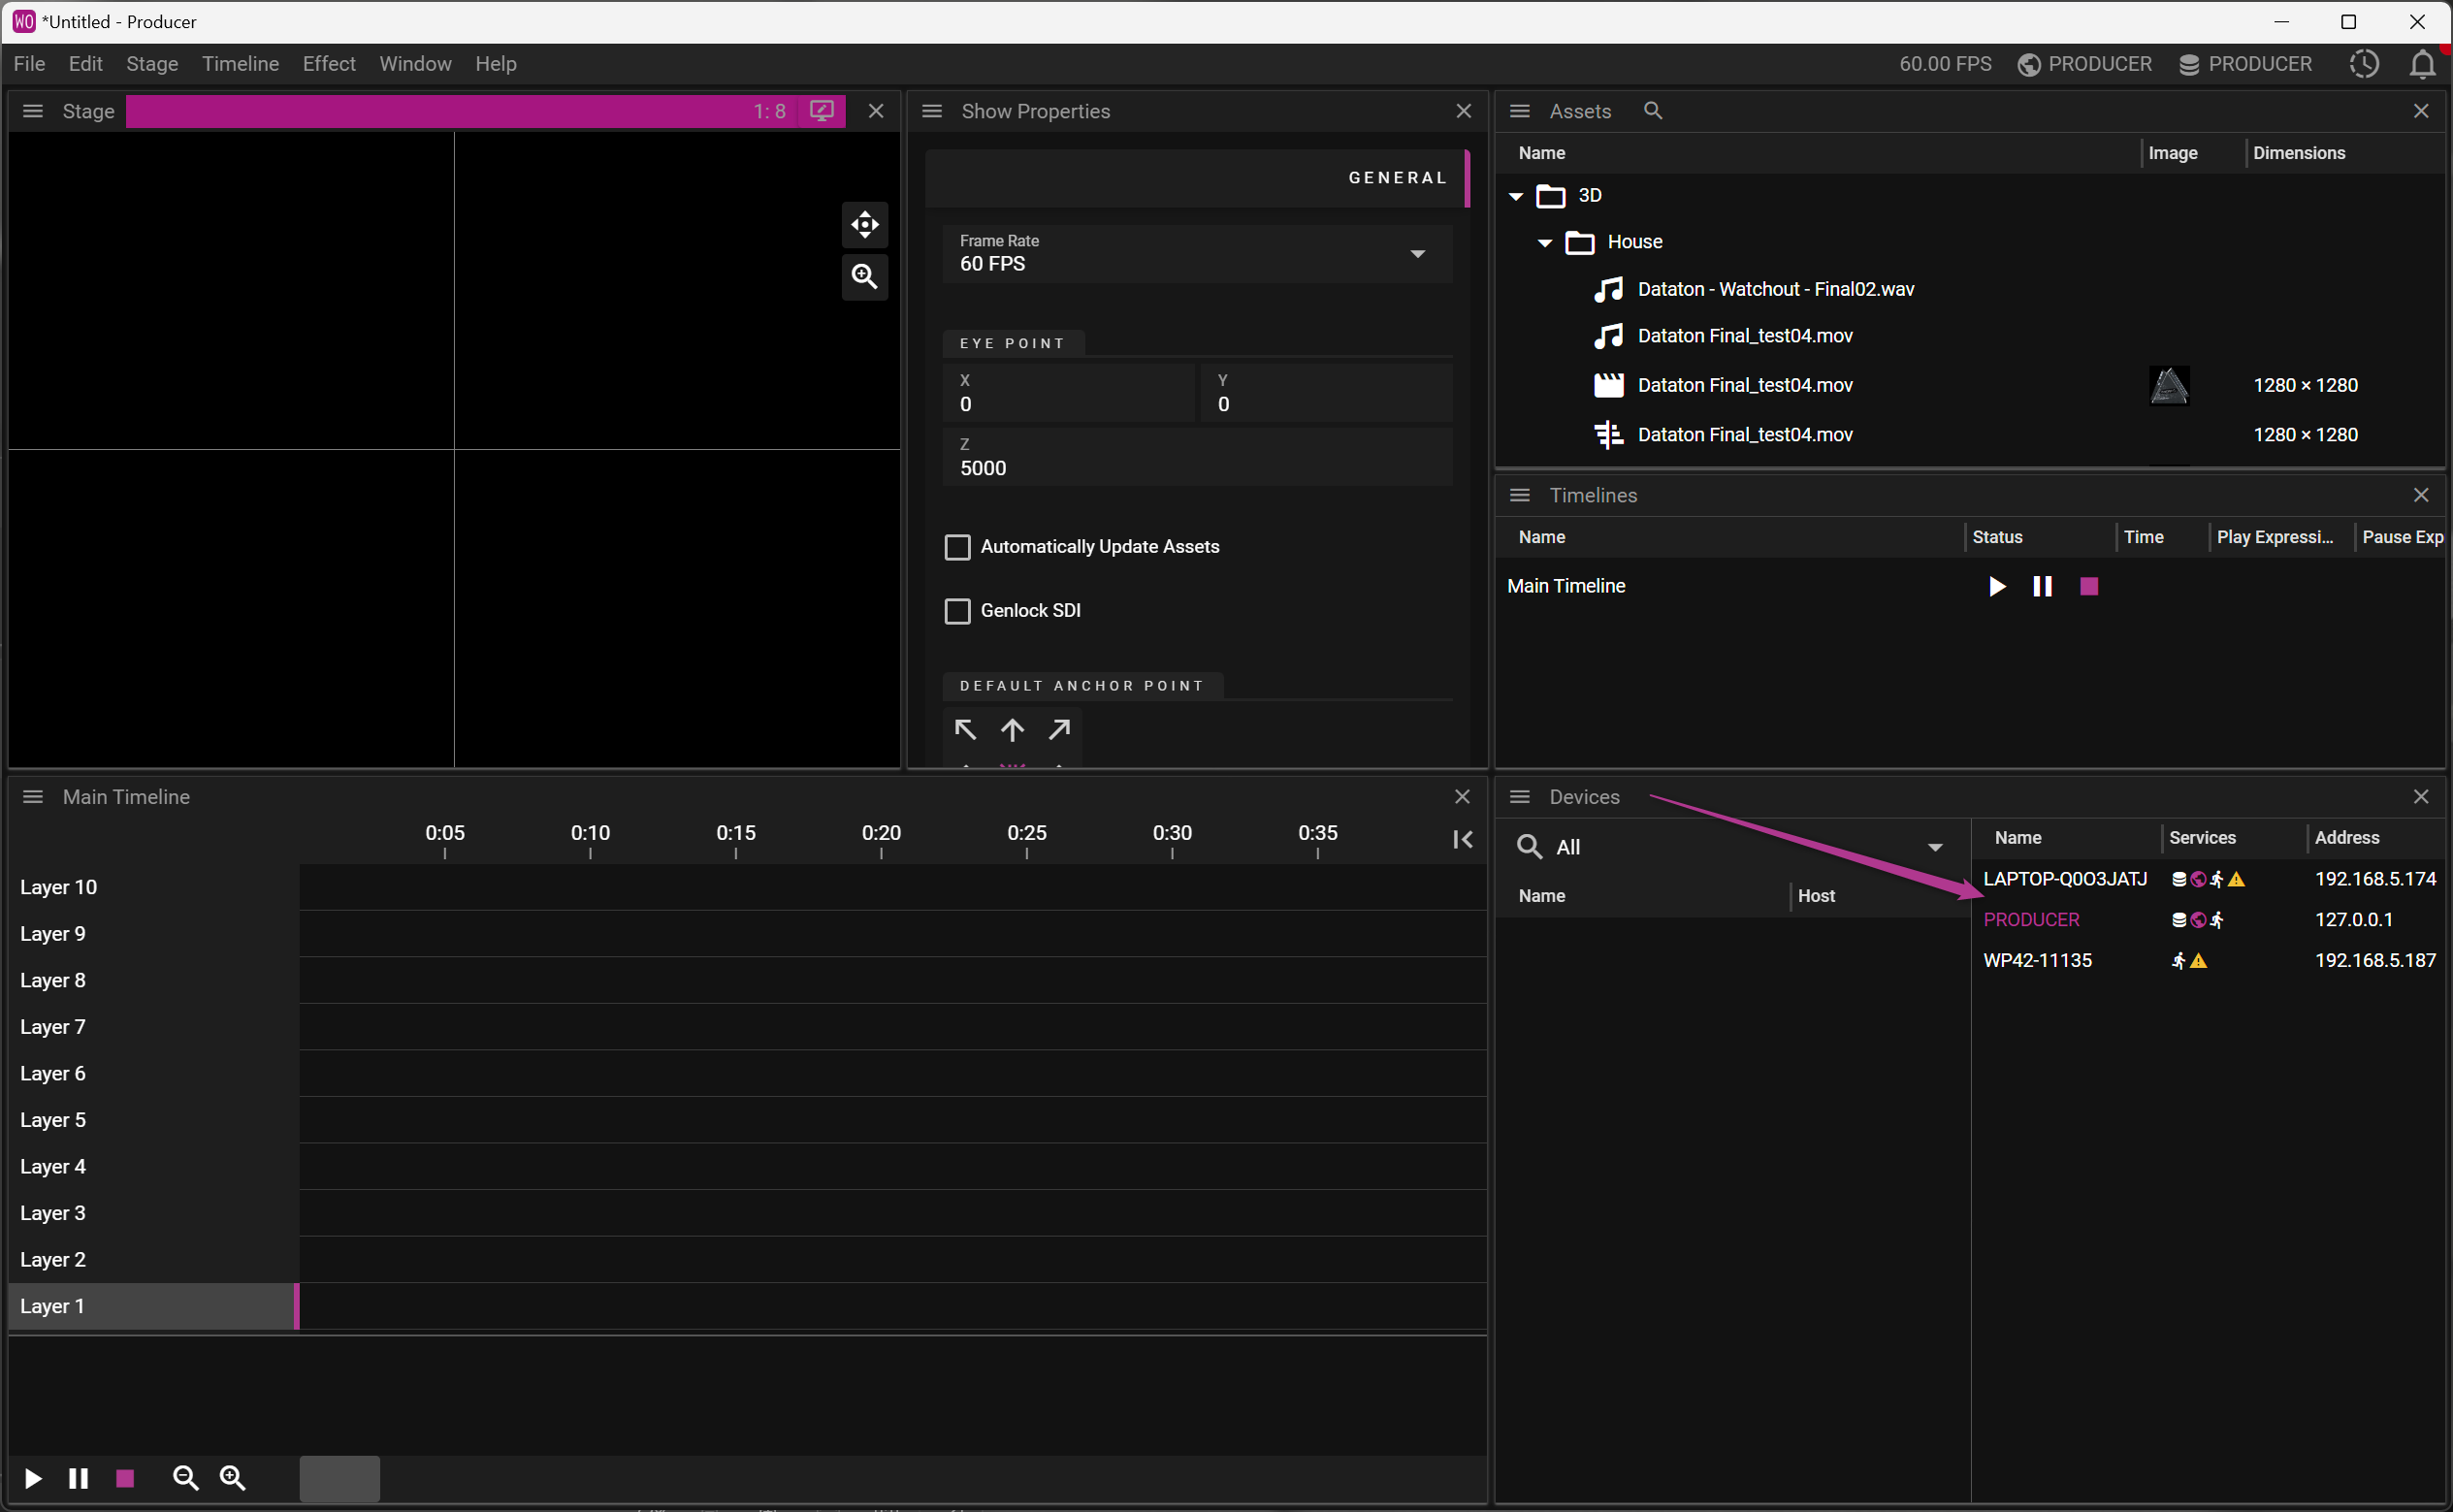
In the screen above, we have added more nodes to the WATCHOUT system. Note that WATCHOUT network discovery now finds a node running the WATCHOUT software with an IP address in a different range.
You can assign roles by right-clicking on a node.