Start Up Screen
The screens shown on connected displays when the WATCHPAX 30 starts up.
The WATCHPAX 30 always starts up with WATCHOUT 7 as default.
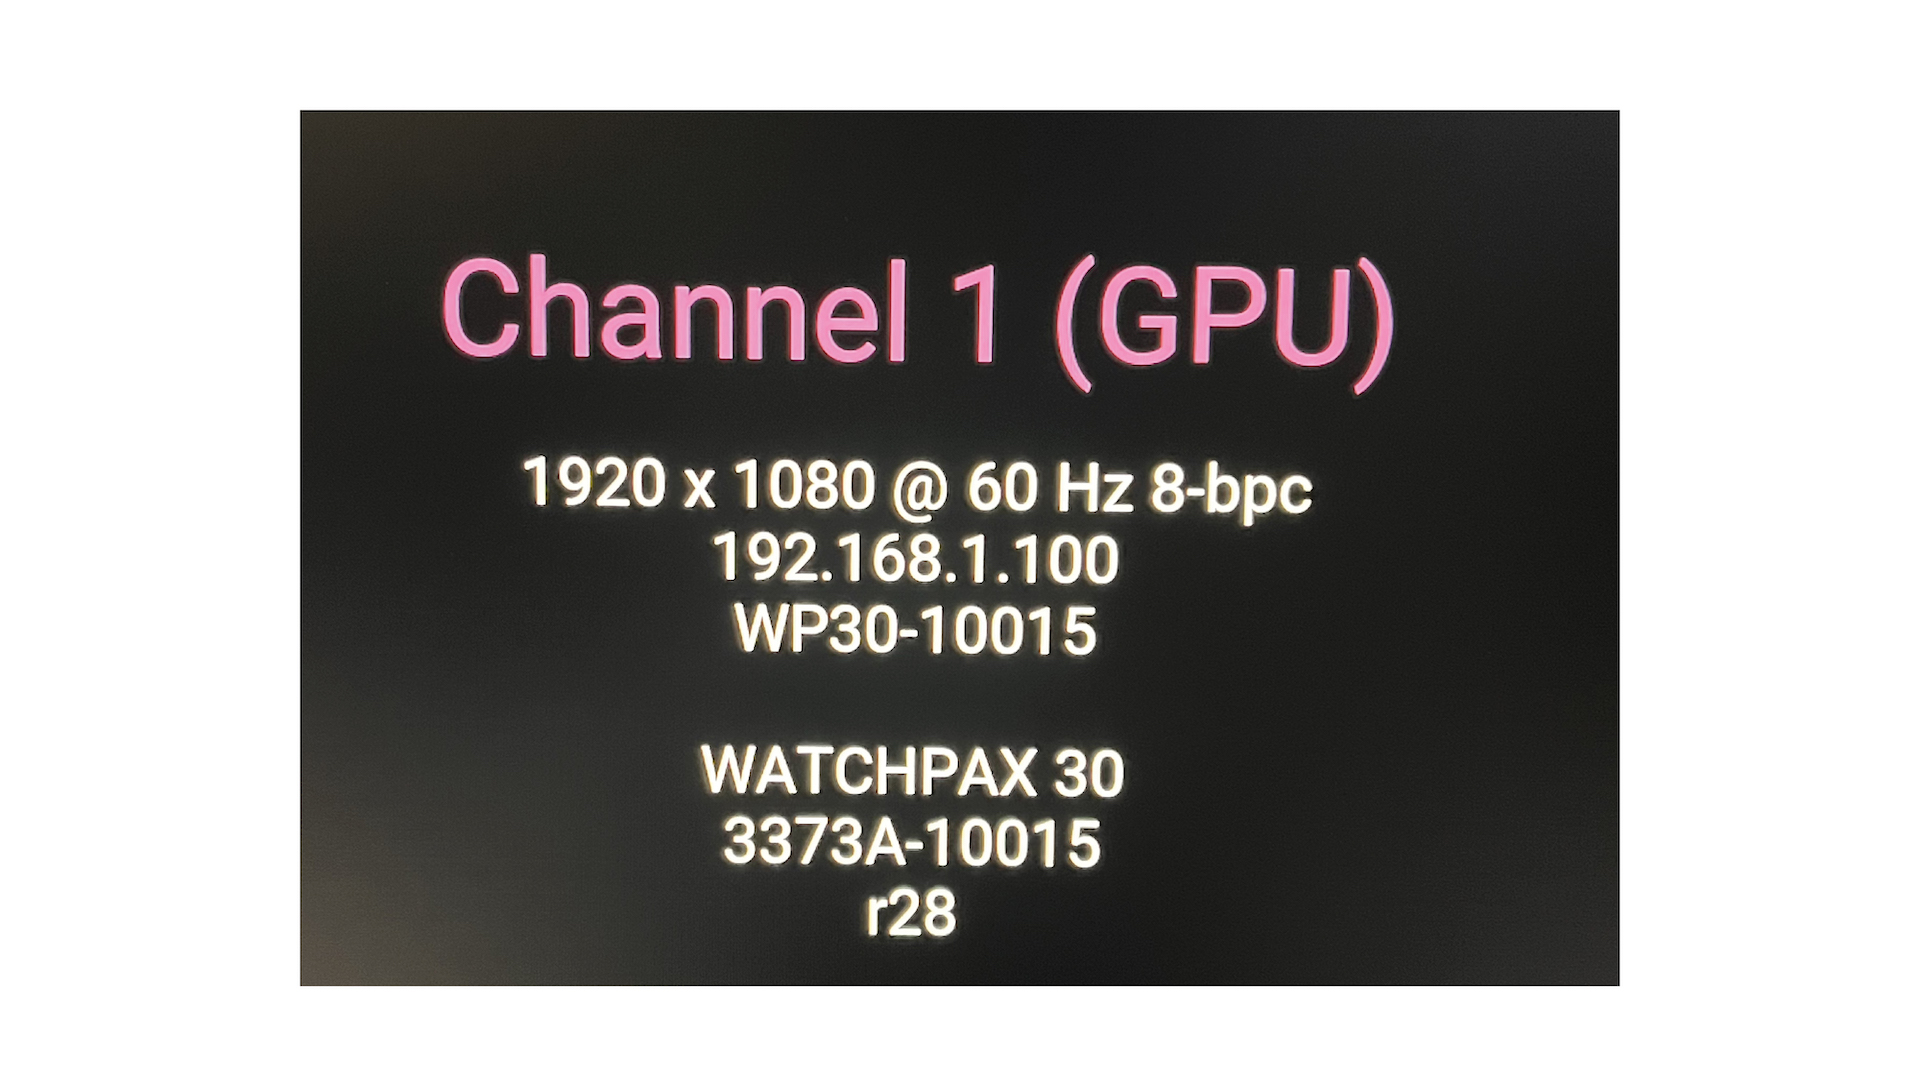
This screen is shown on all display devices connected to the WATCHPAX 30 at start-up with WATCHOUT 7.
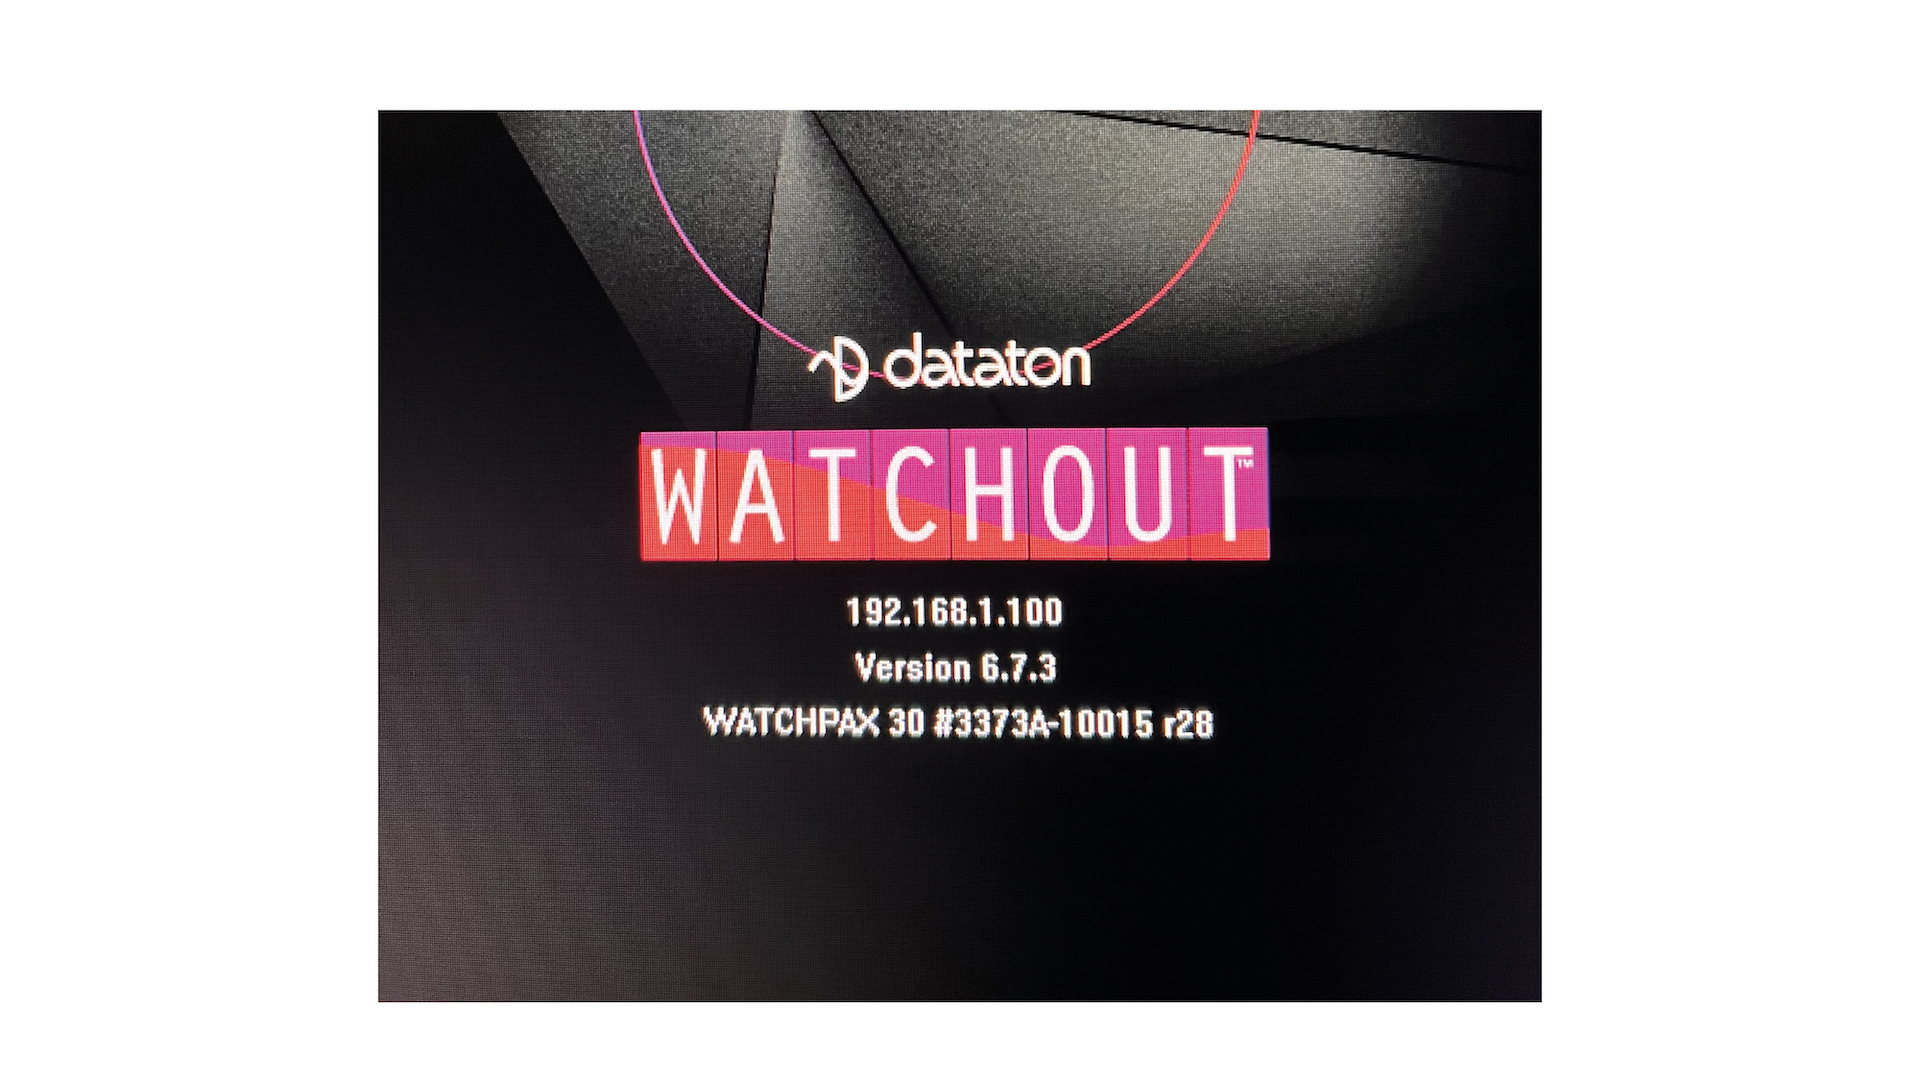
This screen is shown on all display devices connected to the WATCHPAX 30 at start-up with WATCHOUT 6.
Switching Between WATCHOUT Versions
By default, WATCHPAX 30 starts in version 7 mode but you can switch to version 6, and vice versa.
From WATCHOUT 7 to WATCHOUT 6
You can switch from WATCHOUT version 7 to version 6 using the Producer interface in WATCHOUT version 7.
- Connect your WATCHPAX 30 unit and open the WATCHOUT 7 Producer.
- Go to the Devices window.
- From the list of devices, choose your WATCHPAX.
- The Device Properties window will open automatically.
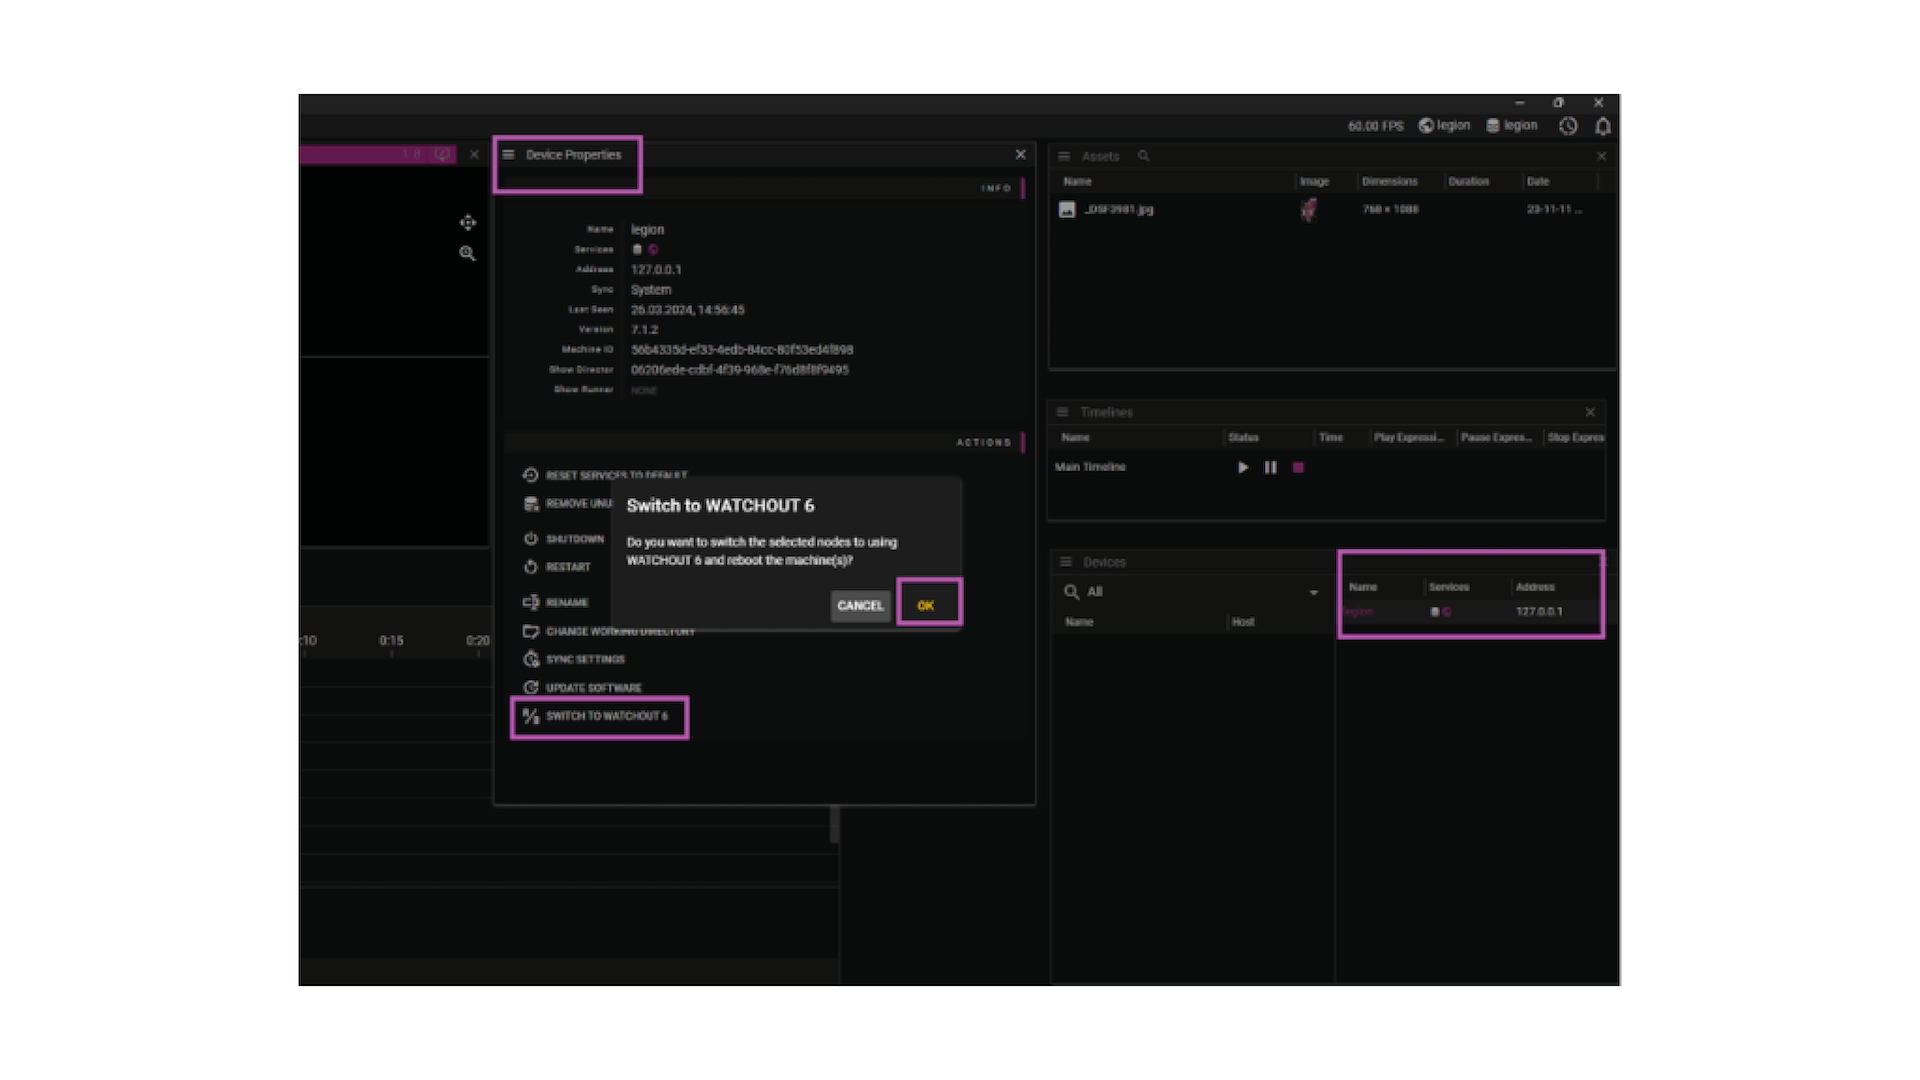
- Scroll down in the Device Properties window and choose "Switch to WATCHOUT 6".
- Press OK in the pop-up window to confirm.
This will cause the WATCHPAX to reboot and it then starts in WATCHOUT 6.
From WATCHOUT 6 to WATCHOUT 7
There are two ways to switch from version 6 on your WATCHPAX 30 to version 7: from the WATCHOUT 6 production computer or locally from the WATCHPAX media server.
- Choose one of the displays from the WATCHPAX media server.
- On the Stage menu, choose "Manage Display Computer" then "Remote Access".
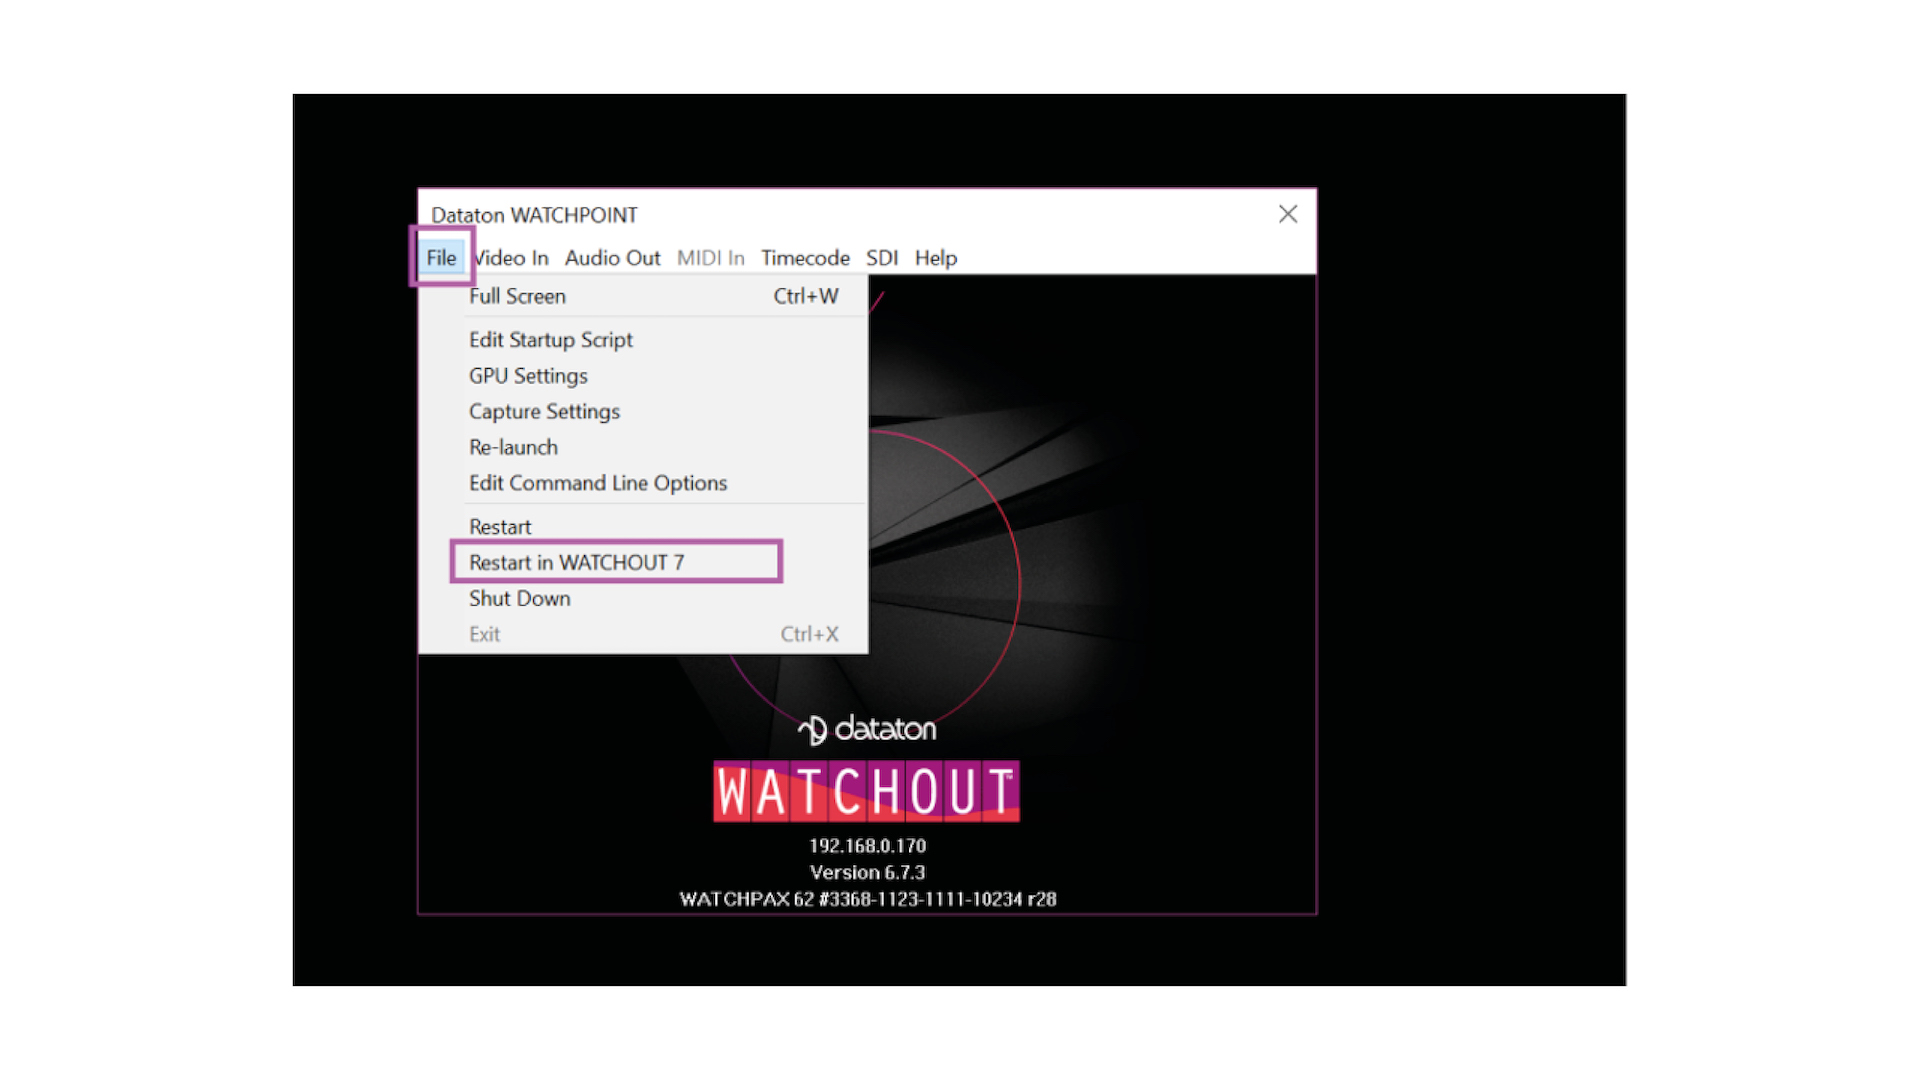
- On the File menu, choose "Restart in WATCHOUT 7".
This will cause the WATCHPAX to reboot and it then starts WATCHOUT 7.
- Connect a keyboard and mouse to the USB ports and a display to an HDMI output.
- Power up the server.
- When you see the WATCHOUT 6 splash screen, press Ctrl+W.
- On the File Menu, select "Restart in WATCHOUT 7".
This will cause the WATCHPAX to reboot and it then starts WATCHOUT 7.